The short answer
To check an alloy refurb is high quality, inspect it carefully on collection in good light and again over the following months. On the day, look for even colour matched across all wheels, smooth lacquer with no runs or orange-peel texture, clean spoke edges and barrels, and no overspray on the tyre, valve or hub face. Check that kerb scuffs, pitting and corrosion are gone, not painted over, and on a diamond-cut wheel that the machined face is even with no cloudy patches under the lacquer. Confirm the wheels were re-balanced if the tyres came off, and that the car drives without vibration. The deeper test is durability: a quality refurb keeps looking right through rain and winter road salt, while a poor one starts to lift, flake or corrode at the edges within months. Photograph the wheels at collection so you have a record if a guarantee claim is ever needed.
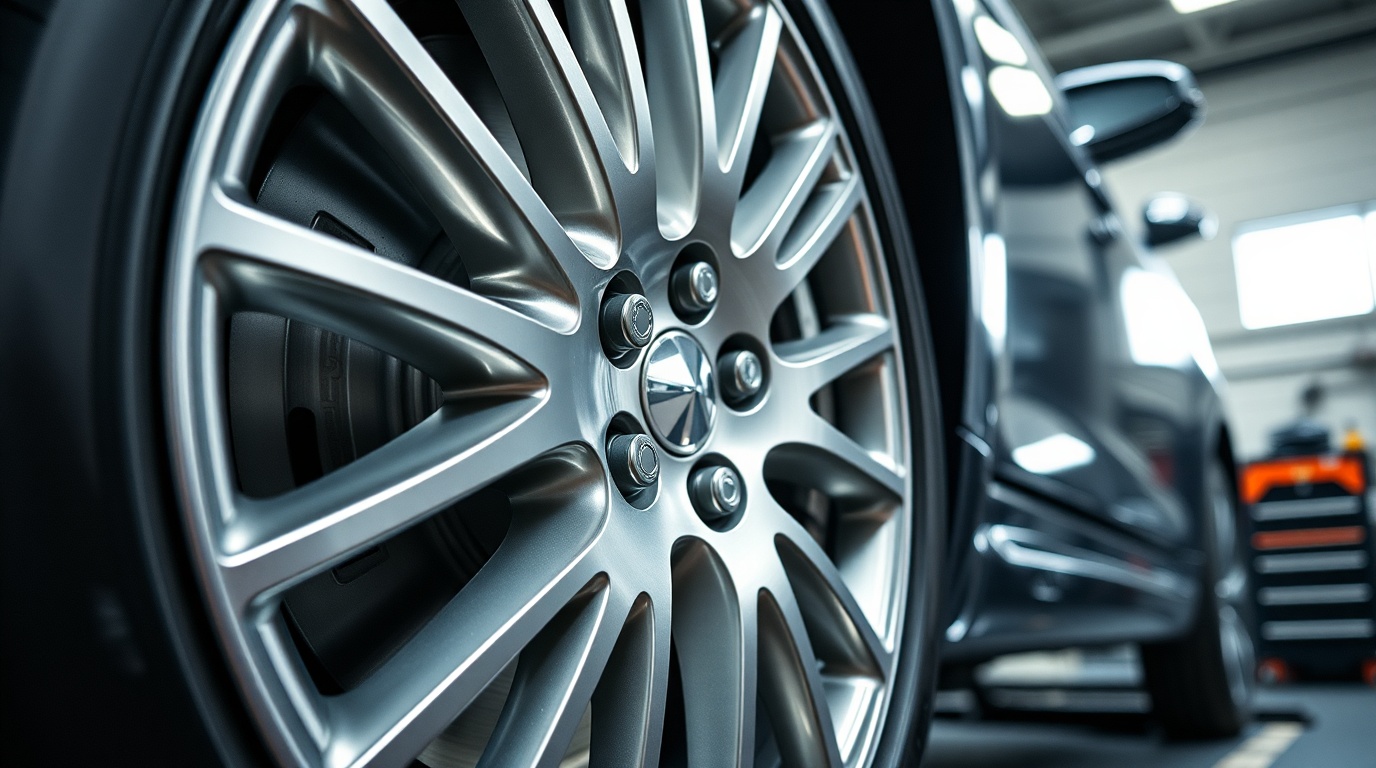
Refurbished wheels almost always look good in workshop lighting. A methodical check at collection, plus knowing what failure looks like later, tells you whether the job was genuinely done well.
Quality checks
- ColourEven and matched across wheels
- LacquerSmooth, no runs or orange-peel
- DamageRepaired, not painted over
- BalanceNo vibration on the drive home
- DurabilityHolds up through winter salt
The collection-day inspection
Do not collect wheels in a rush or in poor light. Park where you can see them clearly, ideally in daylight, and work around each wheel methodically. The points to check are:
- Even, matched colour: the shade should be consistent across each wheel and the same on all of them. Variation between wheels, thin patches or blotches point to a rushed application.
- Smooth lacquer: the clear-coat should be glossy and even. Runs, sags, trapped dust or a dimpled orange-peel texture all indicate poor spraying.
- Clean edges and recesses: spoke edges should be crisp, the rim lip tidy and the inner barrel finished. Tight gaps between spokes are where a careless job shows.
- No overspray: there should be no paint or lacquer mist on the tyre, the valve, the hub mounting face or the bolts.
- Damage gone, not hidden: kerb scuffs, gouges, pitting and corrosion should be properly repaired, not simply coated over. Run a finger gently round the lip to feel for uneven filler.
On a diamond-cut wheel, examine the machined face: the lathe lines should be even, the lacquer clear over them, and there should be no milky or cloudy areas, which can mean moisture is trapped under the lacquer.
It helps to look at each wheel from a few angles and let the light move across the surface, because some defects only show at a glance rather than head-on. A run or sag in the lacquer, a dull patch where the colour is thin, or a slightly raised edge where filler has not been smoothed flush will catch the light differently from the sound finish around it. Comparing the four wheels against each other is useful too: a single wheel that looks subtly different in shade or gloss usually points to a rushed or out-of-sequence job. None of this requires expertise, only patience and decent light.
Check the practical details and the drive
Quality is not only about how the finish looks. A few functional checks confirm the work was completed properly:
- Balancing: if the tyres were removed and refitted, the wheels should be re-balanced. On the drive home, the steering and car should feel smooth with no vibration at speed; vibration suggests balancing was skipped or done poorly.
- Valves and seating: check the valve stems are intact and the wheels are torqued correctly. Overspray on the hub mounting face can stop a wheel seating flat, so it should be clean bare metal there.
- Tyre condition: with tyres off and back on, it is worth confirming nothing was damaged in the process and that tyre pressures are correct.
- All wheels accounted for: if you supplied locking wheel bolts or any centre caps, check they have been refitted and returned.
If anything is not right — a vibration, a missed repair, overspray on the hub face — raise it straight away while the wheels are fresh and the company can put it right easily. A reputable refurbisher will want to know.
| Check | What good looks like |
|---|---|
| Colour match | Consistent across all wheels |
| Lacquer surface | Smooth and glossy |
| Hub mounting face | Clean bare metal, no overspray |
| Drive home | No vibration at speed |
| Repairs | No scuffs or corrosion showing |
Indicative collection-day checks for guidance only.
The real test is how it lasts
A finish that looks perfect at collection has only passed the first test. The harder one comes over the following months, when the wheels face rain, road grime and the salt spread across UK roads in winter. This is where preparation and lacquer quality, which you could not see on the day, finally show themselves.
Signs of a poor refurb tend to appear at the edges first: lacquer lifting or peeling at the rim lip, fresh corrosion bubbling through where the wheel was kerbed, or the colour fading or going dull. These usually mean the old finish was not fully stripped, the surface was poorly prepared, or the lacquer was thin or under-cured. A well-prepared, properly lacquered wheel simply keeps looking right — that is the whole point of a quality finish.
This is why it is worth photographing the wheels at collection and keeping a note of the date and the guarantee terms. Reputable refurbishers typically back their work for around one to three years, covering defects such as lifting or peeling lacquer (though not fresh kerb damage, which is yours). If a finish starts to fail within that period, your photos and paperwork make a claim straightforward. The best evidence of a high-quality refurb is the one you stop thinking about because it never gives you a reason to.
Frequently asked questions
What should I check first when collecting refurbished wheels?
Inspect them in good light for even, matched colour, smooth lacquer with no runs or orange-peel, clean spoke edges, and no overspray on the tyre, valve or hub face. Then confirm there is no vibration on the drive home, which would suggest the wheels were not balanced properly after the tyres were refitted.
How soon would a poor refurb show problems?
Often within a few months, especially after a wet or salty winter. Typical early signs are lacquer lifting or peeling at the rim lip, corrosion bubbling back through where the wheel was kerbed, or the colour going dull. These point to poor stripping, preparation or lacquer rather than a problem with the wheel itself.
Why should I photograph the wheels at collection?
A dated photo record of the finish at collection gives you clear evidence of their condition if a problem develops within the guarantee period. Combined with the written guarantee terms, it makes any claim for a defect such as peeling lacquer much more straightforward to resolve.
Sources & further reading
- Checkatrade — Alloy wheel refurbishment cost guide
- RAC Drive — Alloy wheel repair and refurbishment advice
Figures on this page are typical UK ranges drawn from published sources and depend on your specific wheels. They are guidance, not a quotation.