The short answer
A good alloy wheel refurb shows in the preparation, the finish and the detailing. The colour should be even and consistent across all four wheels with no thin patches, runs or orange-peel texture, and the lacquer or clear-coat should be smooth and fully sealing the surface. Look closely at the spoke edges, the lip and the inner barrel — clean, sharp edges and no overspray onto the tyre, valve or hub face show care. There should be no remaining kerb scuffs, pitting or corrosion bleeding through, and on a diamond-cut wheel the machined face should be uniform with even lathe lines and no dull or cloudy patches under the lacquer. Good prep is invisible but decisive: if the old finish was properly stripped and the surface keyed and primed, the new finish bonds and lasts. A durable refurb is judged not just on collection day but on how it holds up to weather and road salt over the following seasons.
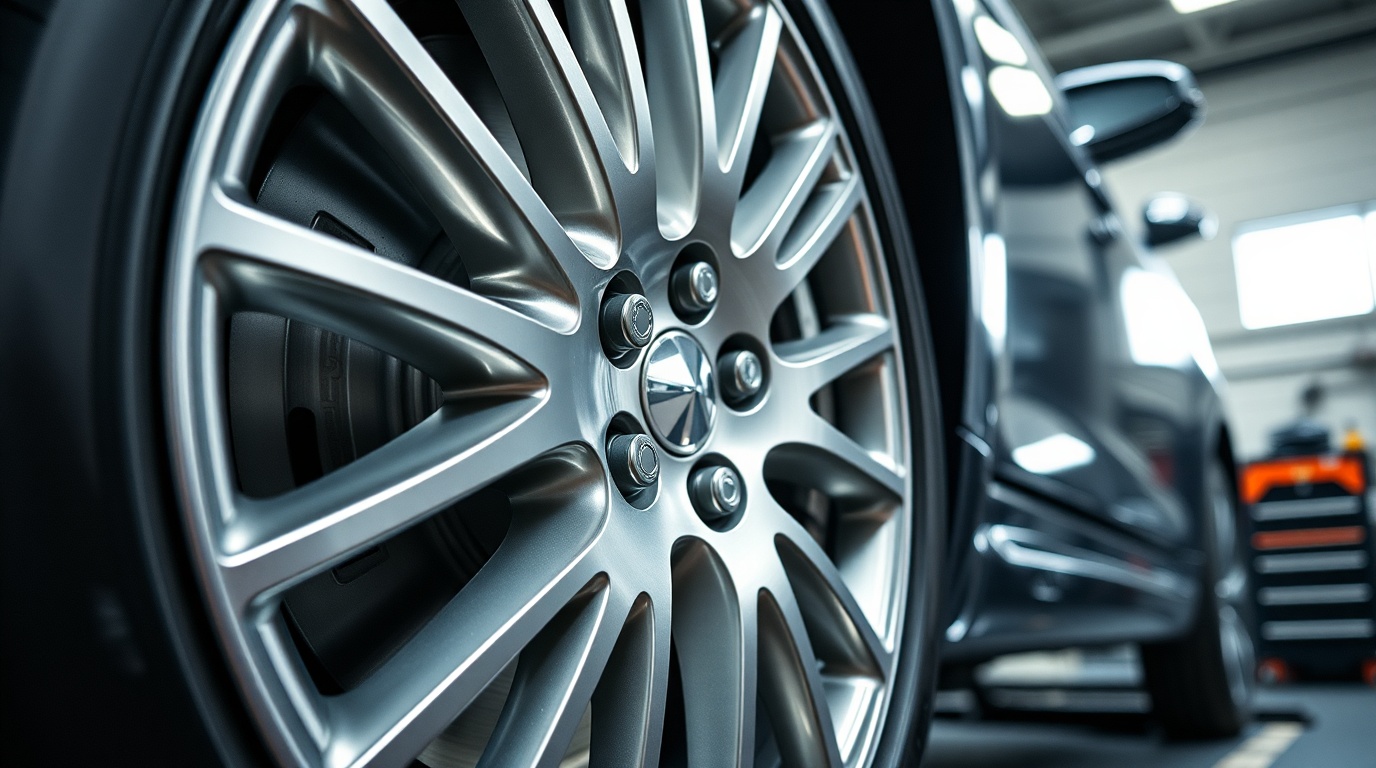
When you collect refurbished wheels they often look great in the workshop light. Knowing what to inspect helps you tell a finish that will last from one that will lift within months.
Signs of a good job
- ColourEven, consistent, no thin patches
- LacquerSmooth, fully sealed, no runs
- EdgesClean spokes, lip and barrel
- DamageNo scuffs or corrosion bleeding through
- OversprayNone on tyre, valve or hub face
Preparation is the part you can't see but always pays off
Most of the quality in a refurbishment is decided before any colour is applied. The old coating has to be removed — by chemical stripping, media blasting or both — so the new finish bonds to clean, sound metal rather than sitting on top of old lacquer and contamination. Kerb damage, gouges and any corrosion must then be repaired and the surface keyed and primed. None of this is visible in the finished wheel, which is exactly why corners get cut here.
You cannot watch the prep, but you can see its consequences. A finish that has been applied over poor preparation tends to show within months: edges that lift, lacquer that flakes, or corrosion that returns and bleeds through the new colour. So while you are inspecting the visible finish, remember that what you are really judging is whether the unseen groundwork was done. Asking the refinisher how they stripped and prepared your specific wheels, and comparing that against the finished result, gives you a fuller picture than the surface alone.
This is also why a refurbishment that simply sprays over the existing finish, without stripping it back, is a false economy. It may look acceptable on collection day, but the bond underneath is weak. The difference between that and a properly stripped, primed and refinished wheel only becomes obvious after a winter of rain and road salt.
Inspect the finish and the detailing closely
When you collect the wheels, take your time and look at them in good light. The things worth checking are:
- Even colour: the shade should be consistent across the whole wheel and matched across all four. Thin patches, blotches or a colour that varies between wheels suggest a rushed application.
- Smooth lacquer: the clear-coat should be glossy and even, with no runs, sags, dust nibs or the dimpled orange-peel texture that comes from poor spraying.
- Clean edges and recesses: spoke edges should be sharp, the rim lip clean, and the inner barrel finished rather than left rough. Tight recesses between spokes are where a careless job shows.
- No overspray: there should be no paint or lacquer on the tyre, the valve stem, the hub mounting face or the wheel bolts. Overspray on the hub face in particular can affect how the wheel seats.
- No damage showing through: kerb scuffs, pitting and corrosion should be gone, not painted over. Run a finger lightly around the rim lip to check for filled-but-uneven repairs.
On a diamond-cut wheel, look at the machined face specifically: the fine lathe lines should be even and consistent, the lacquer clear over them, and there should be no milky, cloudy or dull patches, which can indicate moisture trapped under the lacquer or an uneven cut.
| Where to look | Good | Poor |
|---|---|---|
| Face colour | Even, matched across wheels | Patchy, varies between wheels |
| Lacquer | Smooth and glossy | Runs, orange-peel, dust nibs |
| Spoke edges | Sharp and clean | Soft, with paint build-up |
| Tyre and valve | No overspray | Paint mist on rubber |
| Diamond-cut face | Even lines, clear lacquer | Cloudy or dull patches |
Indicative inspection points for guidance only.
Durability matters more than the showroom shine
A finish that looks flawless on collection day is necessary but not sufficient. The real test of a good refurb is how it holds up over the months that follow, through rain, road grime and the salt spread on UK roads in winter. The two things that decide this are the preparation underneath and the lacquer or clear-coat on top.
The lacquer is the wheel's weather barrier. A properly applied, fully cured clear-coat seals the colour against UV fading, water and salt. A thin, uneven or under-cured lacquer lets moisture creep in at the edges, which is where lifting and corrosion typically start — often around the rim lip or where the wheel was kerbed. This is also why a sensible guarantee, commonly one to three years, matters: it gives you recourse if a finish that looked perfect begins to fail.
It is worth photographing the wheels when you collect them, so you have a record of their condition. If a problem develops within the guarantee period, that record helps. And if you have a choice between a finish that looks slightly less mirror-bright but is properly stripped, primed and lacquered, and one that dazzles but was sprayed over the old coating, the durable one is the better job every time. A good refurb is the one you forget about because it simply keeps looking right.
Frequently asked questions
How can I tell if a refurb was properly prepared?
You cannot see the preparation directly, but its results show over time — poorly prepped finishes lift, flake or let corrosion return within months. Ask the refinisher how they stripped and primed your wheels, check the visible finish carefully, and rely on a guarantee for recourse if hidden prep was skipped.
What does orange-peel texture on a wheel mean?
Orange peel is a dimpled, slightly rough surface in the paint or lacquer, caused by poor spraying technique, wrong settings or contamination. A good finish should be smooth and glossy, so noticeable orange peel is a sign the application was rushed or the conditions were not controlled.
Should refurbished wheels be matched across the car?
Yes, ideally. If all four wheels are done together the colour and finish should be consistent across the set. If only one or two are refurbished, a good company will aim to match the existing wheels as closely as possible, though exact matches to a weathered original finish can be difficult.
Sources & further reading
- Checkatrade — Alloy wheel refurbishment cost guide
- RAC Drive — Alloy wheel repair and refurbishment advice
Figures on this page are typical UK ranges drawn from published sources and depend on your specific wheels. They are guidance, not a quotation.